Each scenario includes all the necessary simulation content for Learners, including the narrative elements of the simulation, background art, and host avatar design.
Add a Scenario to a Project
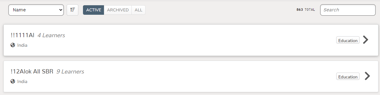
- Click Clients on the portal navigation bar

- Search for and select the client for whom you'd like to create a scenario
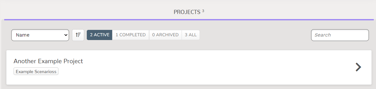
- Under Projects, select the project that the simulation will belong to
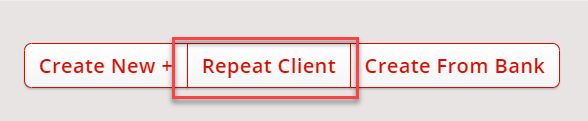
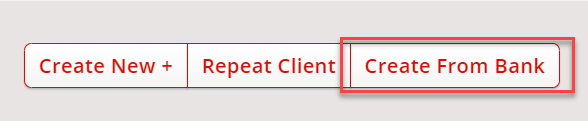
- At the bottom of the project screen is the Scenario section, there are three options available
- Create New
- Repeat Client
- Create from Bank
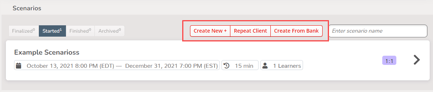
We'll review each below:
Create a New Scenario
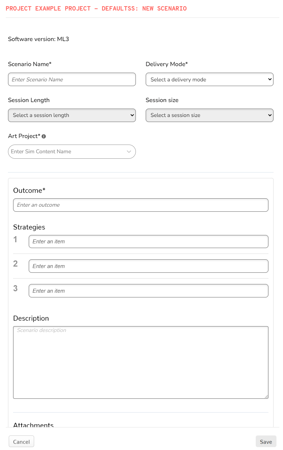
Click Create New to create an entirely new scenario

Complete the pop-up, enter the details for your new scenario, and click submit when complete :
-
Scenario Name - The name of the scenario should be unique
-
Delivery Mode - Review the Delivery Mode section
-
Session Length - Select the length of the simulation
-
Session Size - How many attendees will be in the simulation
-
Art Project - The environments and avatars that will be used in the simulation, select one. If you need to create a simulation, see this page
-
Outcome - The desired outcome of the simulation. What should the learner accomplish by the end?
-
Strategies - Strategies defined in the scenario vignette
-
Description - The scenario vignette language elements (Outcome, Strategies & Description) are typically copied and pasted into the Portal.
-
Attachments - Add any files that may be helpful for the learner
Repeat Client
- Click Repeat Client to pull up a list of scenarios a client has used before. This is a quick way to duplicate scenario content for a new project. Note that you cannot repeat a scenario if it was created for another software version (ML3 cannot be repeated as an ML3z project, for example).
- Scroll to select or use the search to find the scenario you want to repeat and click Next
- Assign the scenario to a Team and set the start and end-dates for the scenario (note, this can be different than the start and end dates for the project).
Create from Bank
-
Click Create from Bank
-
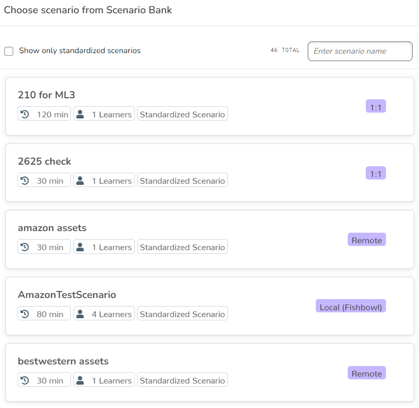
Scroll to select or use the search to find the scenario you want to use. You can also tick the Show only standardized scenarios which will only show our stock scenarios.
-
Assign the scenario to a Team and set the start and end-dates for the scenario (note, this can be different than the start and end dates for the project).
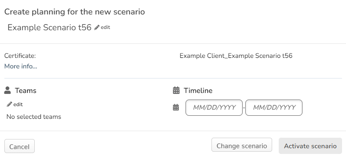
Finalizing the Scenario
Regardless of which path you take, you will need to enter the planning for the new scenario. 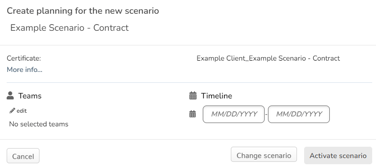
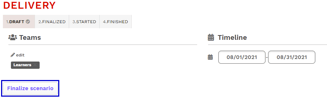
- Click edit to add teams and enter the timeline you'd want this scenario to be available to the team.
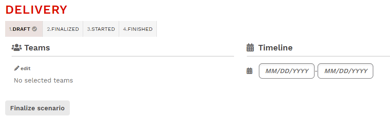
- When complete, click Finalize Scenario
The new scenario will now appear in the scenarios section of the client page
Understanding Scenario Statuses
In the Scenario section, scenarios are grouped by status: 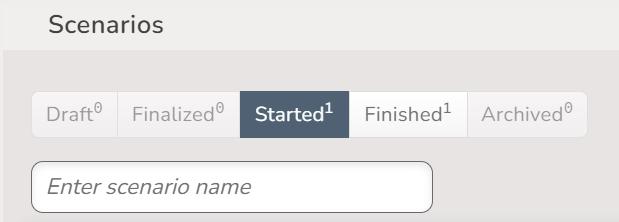
Draft - Scenario has not been finalized
Finalized - Scenario has been finalized but the start date is in the future
Started - A finalized scenario that is within its set timeline
Finished - A scenario with an expired timeline. Learners are unable to schedule simulations but will still see the scenario within the project
Archived - A scenario that has been archived, learners are unable to see these scenarios within the project